Tuesday, May 18, 2010


Unfortunately it did not work out as well as i hoped. The joint points (where the body attached to the frame) are not the same. Very close but not enough. I was going to an autowrecker anyway, so i need to buy some 4runner joints.


And here are the latest pics. I swapped the frames yestarday...


Here are some pics from earlier. The boxed part was full with sand and i tried to wash it out. There were two holes where the boxed part ending. I drilled the lower one up to 1". It worked out really good. Of course i had to help a bit with a screwdriver and a bicycle wheel spoke, because the water itself did not wash perfectly out everything. I used a pressure washer as well.

Saturday, May 15, 2010


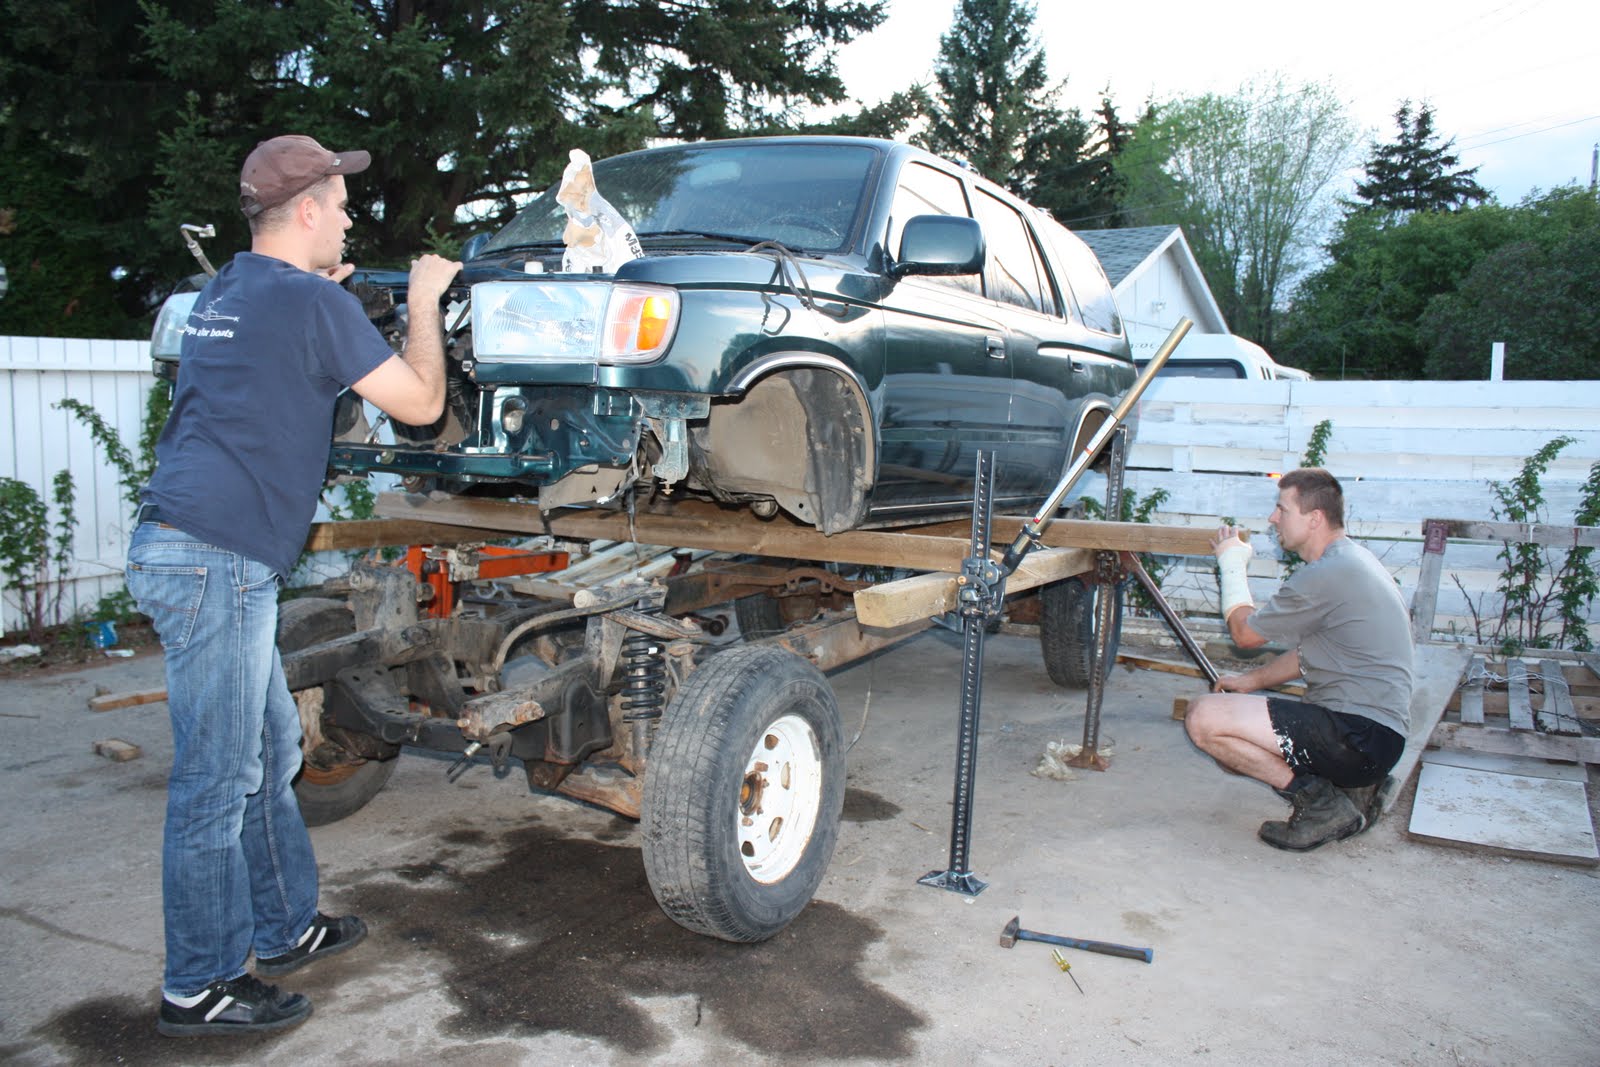
So the problem was the engine had to be turned almost vertical, but of course i could not lift high enough and the rad support was in the way. To solve the problem i hooked up a hand winch to pull the rear end of the tranny upward and level to whole thing, but i couldn't do it fully because the chain hanging front of the engine wasn't letting to do that.I wish i would have an engine leveler. Funny enough it was on sale on the next morning so i bought one immediately. Anyway i pulled it out, I damaged the top of the rad support a bit but nothing serious.


So, finally i got the 3.4 engine out of the 4runner.It was not easy.
Remove the radiator, driveshafts, sway bar, steering rack and pinion. Than- in order to get to the engine mount bolts on the front- i took off the A/C pump, steering pump and the alternator on the other side.I disconnected the exhaust pipe and removed the starter (It was extremely hard due to lack of room). Now i was able to remove the rear bolts. After this i put a hydraulic jack under the tranny and one under the T-case, removed the crossbar holding the tranny and slowly lowered the jacks. I tilted the whole thing backward to have room to remove the top bolts of the T-case. I was not sure if it would come out in one piece with the engine and tranny. I still had doubt how i gonna pull this out.(Oh yeah and of course there was a few connections, wires and vacuum hoses to disconnect. I tried to do only stuff related to the engine and tranny. The ECU wires were pretty straight forward too. I removed the glovebox and the black plastic cover. Disconnect three out of the four plugs and pulled them out via the hole on the firewall.

Saturday, May 8, 2010

Here is the last ingredient. This a KZ-TE . So wish me good luck, my suffer is starting...

Thursday, May 6, 2010

I have no luck with the weather in this project so far. When i started to remove part from the 4runner a week ago it started to rain. The diesel engine arrived today. Of course what did i see when i stepped out the door...

Sunday, May 2, 2010

The result...


Here is the first mistake i made.I used a spot weld drill to remove the crashed rad support and prepared the surface with a grinder nicely.I thought the new support will come with the holes in it where the factory spot welds are. But there was none. So i driller holes where the spot welds were and welded the support from the inside. I talked with a autobody guy later who told me i should have drill the holes on the new support and weld it on the outside (which would have been a much easier). Overall the result is the same.I bought a special airtool since that. It can punch 5mm holes, so next time i will do it in the right way:).


But let me go back in time a bit.A few month prior i bought this for my project. Originally i wanted to part this out and just use the parts i need, but as i started to remove the broken parts i realized it is an easy fix (however i have never done this type of work before).The biggest work was to replace the rad support. The rest was just bolt on.(I was lucky and find all the parts i needed at one autowrecker. Of course the rad support was new. Plus there were paperworks and it had to pass the inspections.)